Measurement gauge closes the gap between simple thickness sensors and dedicated systems
A new “thicknessGAUGE” system from Micro-Epsilon provides precise thickness measurements of strip materials, plate and sheet up to 25mm thick, filling the gap between basic thickness sensors and higher cost, dedicated inline thickness measurement systems.
The range uses three different sensor types – laser triangulation, laser profile and confocal chromatic sensors. The flexibility of technology selection this range of sensors ensures optimum results are achieved based on the surface type, material to be measured and the performance requirements of each application.
The fully assembled thicknessGAUGE system comprises a stable frame on which two optical distance sensors are fixed, which measure the thickness of the target material using the ‘difference’ principle. The sensors are aligned with each other on the frame and factory-calibrated for each application. The specific linearisation of the sensors in the frame means that the complete system accuracy is better than the individual sensors combined. The entire system is powered via a 24V power source, which makes the installation and integration work as simple as possible.
The thicknessGAUGE is mounted on a linear axis with an electromechanical drive that moves the sensor system from the ‘home/park’ position to the required measuring position. Depending on the application requirements, the system can be operated in traversing mode, scanning back and forth continuously, or in fixed track mode where a specific point, often the centreline, is taken for gauge control. The system can also be set to edge mode for control of the material edge thickness.
Automatic Calibration
It is equipped with an automatic calibration unit, consisting of a certified gauge block that is measured periodically as part of the traversing process. The use of a gauge block as part of the system ensures optimum accuracy is maintained and accounts for the effects of fluctuating temperatures and changes in the distance of the measurement gap. The calibration cycles are individually adjustable to the customers’ needs, take just seconds to complete and being part of the gauge means the process never has to stop.
According to Glenn Wedgbrow, Business Development Manager at Micro-Epsilon, sometimes customers attempt to create simple thickness measurement systems using individual sensors, without paying attention to the issues of mechanical setup changes, calibration and usability.
“Whilst the costs at first glance may seem low, this typically ends up with an unsatisfactory measurement performance and much more money wasted in attempting to rectify the issues,” he says.
Coating Thickness
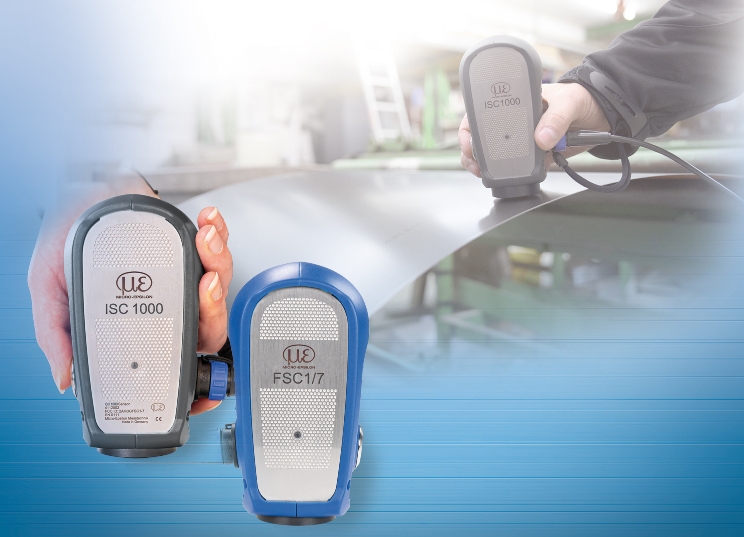
Micro-Epsilon has also applied its thickness measuring expertise to the measurement of coatings and paint. Based on microwave technology, the new range of compact, hand-held gauges measures the total layer thickness of insulating materials with micrometer precision.
Two ranges of non-destructive coating thickness gauges are available:
* The FSC (Fast Surface Check) series has been developed for aircraft manufacturers, airlines and paint shops.
* The ISC1000 (Industrial Surface Check) series is designed for general industrial and process manufacturing applications.
With FSC and ISC gauges, neither the target surface (coating or paint) nor the substrate is affected by the measurement. In the case of multi-layer coatings, the total thickness of insulating layers is always measured up to the first conductive material layer. The measurement can be performed on any metallic substrate with the same signal quality regardless of electric and magnetic properties. The gauges are factory-calibrated and can then be individually adjusted to the individual substrates using calibration foils. The adjustment only needs to be done once for measurement on any metal substrate.
- UK manufacturing steps up to COVID-19 crisis - April 2, 2020
- Clustering Innovation - March 12, 2020
- A Global Monitor - March 6, 2020

