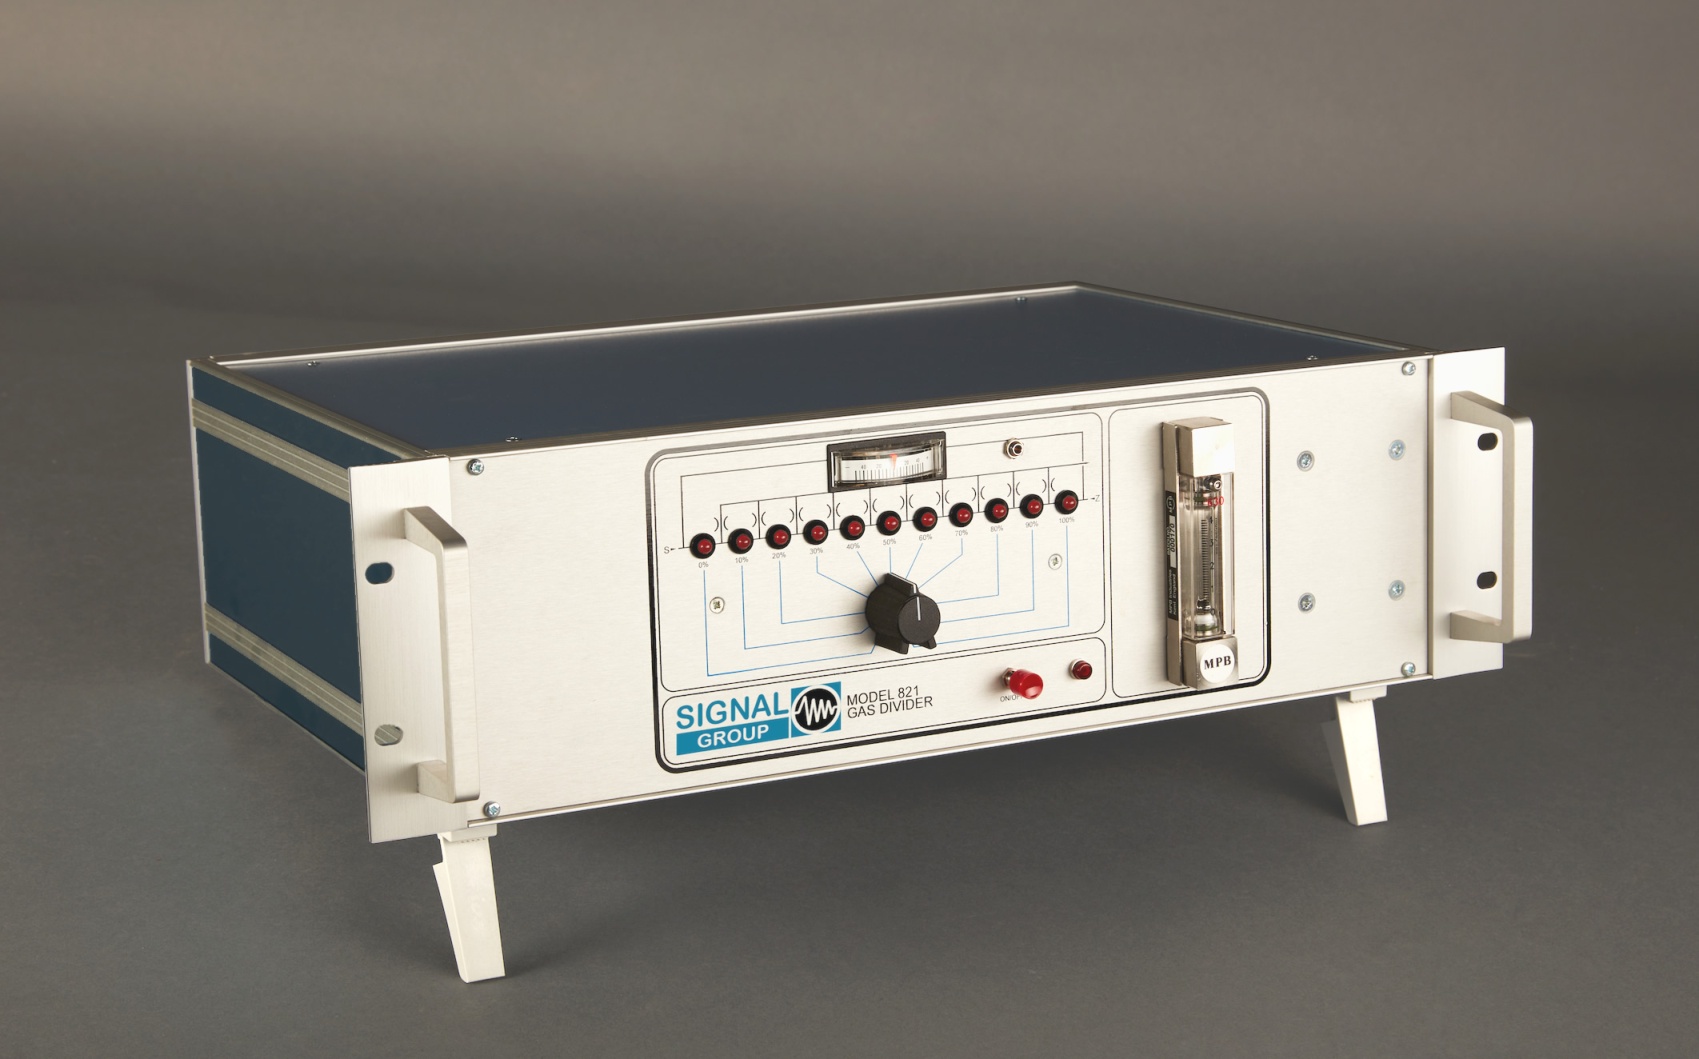
The Signal Group explains how to check the linearity and calibration of gas analysers
Calibration is the process of establishing the relationship between the output of a measurement and a known input. In common with most measuring instruments, gas analysers require calibration following installation, and then at regular intervals to check that they are performing to specification. Regular zero and span checks (known inputs) are necessary, but it is also necessary to check the linearity of the analyser regularly. Analyser linearity is unlikely to change after initial commissioning but if it does, errors can be substantial, so analysers should be checked regularly and/or following every major service.
Some instruments employ sealed gas cells or reference spectra for self-calibration, but a number of gases of known concentration are required for a linearity check. So, what is the best way to conduct accurate, reliable calibration and linearity checks, without incurring excessive cost?
First, where analysers are being used for compliance purposes, it is necessary to be familiar with the regulatory requirements. For example, the European standard EN14181 describes the quality assurance procedures needed to assure that Automated Measurement Systems (AMS) installed to measure emissions to air are capable of meeting the uncertainty requirements.
Under EN14181, the linearity of an analyser’s response must be checked using five different reference concentrations, including zero, all of which should be traceable. The reference concentrations shall be selected such that the measured values are at approximately 20%, 40%, 60% and 80% of the range of two times the emission limit, and the test concentrations should be applied in a randomised sequence.
After each change in concentration, the first instrument reading shall be taken after at least three times the response time of the AMS, and at least three readings shall be made at each concentration. The time period between the start of each of the three readings shall be separated by at least four times the response time.
There are two main linearity audit options:
1 Purchase bottles of pre-prepared and certified calibration gases for each of the required concentrations
2 Purchase a gas divider so that one certified bottle of calibration gas can be accurately diluted to create each of the required concentrations.
The first option can be particularly expensive, and the number of bottles required can cause significant management and storage issues. The large number of gas bottles also creates greater potential for these costly purchases to run past their certified ‘use by’ date. Option 2 is therefore more popular because of its simplicity and lower cost. However, it is of course also necessary to be able to validate the gas divider…
Most commercially available gas blenders utilise mass flow controllers to manage the gases. However, they are not linear in response and therefore also need to be calibrated. For this reason, the Signal Group Model 821S Gas Divider does not use mass flow controllers. Instead, the 821S uses a manifold block with ten identical capillaries and a precision pressure balance regulator. A selector allows each of two gases (zero and calibration) to flow through these capillaries in ratios of 1:9, 2:8, 3:7, 4:6, 5:5, 6:4, 7:3, 8:2, 9:1 and 10:0. Consequently, including zero, it is possible to create 11 different equal increment concentrations for each calibration gas, with which to audit the gas analyser linearity.
Since the design of the 821S provides symmetrical increments, the procedure to check the accuracy of the gas divider is simple: connect the zero and calibration gas to the opposite connection and repeat the test. If the gas divider is operating correctly, the gas analyser will show exactly the same readings.

